
How to Add Circuits Without Breaking Walls
5 Low-Damage Methods
- 15 min read
- Published on:
- Updated on: May 19, 2026
- 15 min read
- Published on:
- Updated on: May 19, 2026
Quick Summary
Adding circuits to a finished Ottawa home typically requires an ESA permit, a panel with available space, and an electrician skilled in “fishing” wires through walls. Costs range from $400 to $1,500+ per circuit depending on complexity. Minimal wall damage is possible but takes more time and expertise.
You finally bought that electric vehicle. Or maybe you’re finishing your basement and need more outlets. Perhaps your home office needs its own dedicated circuit so your computer stops flickering every time the AC kicks on.
Whatever the reason, you need more electrical circuits. And the first thing that crosses your mind is probably: “How much drywall am I going to have to patch and paint?”
Here’s the good news. Experienced Ottawa electricians have techniques to run new wiring through your finished walls with far less damage than you might expect. Not zero holes—let’s be honest about that—but often just a few small openings that are easy to repair.
In this guide, we’ll walk you through exactly how professionals add circuits to finished homes. You’ll learn what determines whether a project is simple or complex, how ESA permits work in Ontario, and the real trade-offs between cost and wall damage.
Why Ottawa Homes Keep Running Out of Circuits
Most homes built before the 2000s were designed for a simpler electrical lifestyle. A few TVs, some lamps, maybe a window air conditioner in summer. The electrical panel was sized for that era.
Fast forward to today. A single home office might have a desktop computer, two monitors, a printer, a space heater, and a phone charger. That’s before you even think about the rest of the house.
Common reasons Ottawa homeowners need new circuits include:
- 1 Electric vehicle chargers that need their own 240-volt circuit to deliver enough power
- 2 Finished basements where building code requires specific outlet spacing and dedicated bathroom circuits
- 3 Home offices that keep tripping breakers because they share circuits with other rooms
- 4 Kitchen renovations where modern code requires separate circuits for each major appliance
- 5Hot tubs, saunas, or pools that need dedicated GFCI-protected circuits for safety
The question isn’t whether you need more power. It’s how to get it without turning your finished home into a construction zone.
Step One: Check Your Electrical Panel
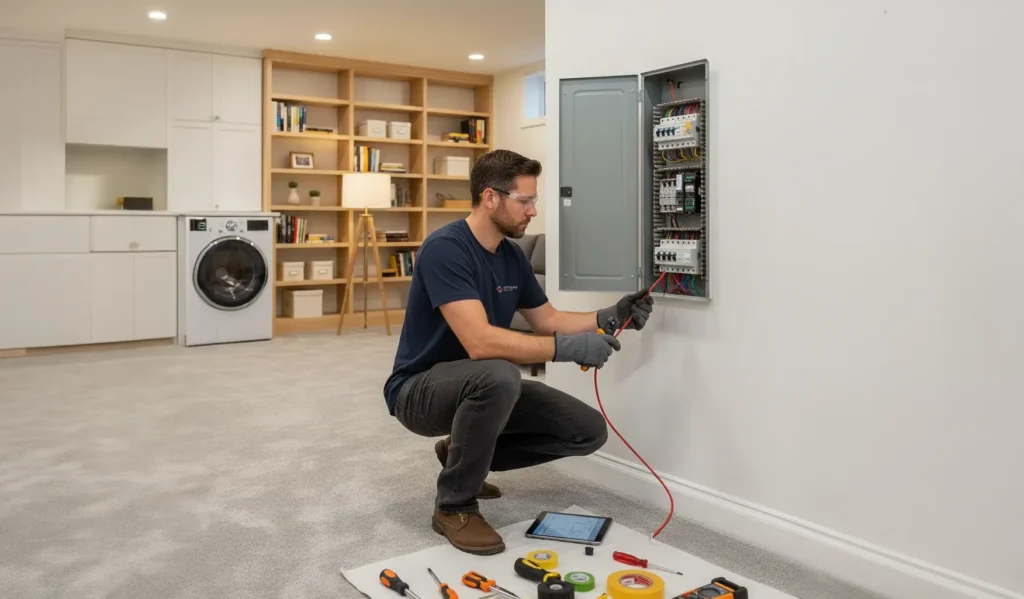
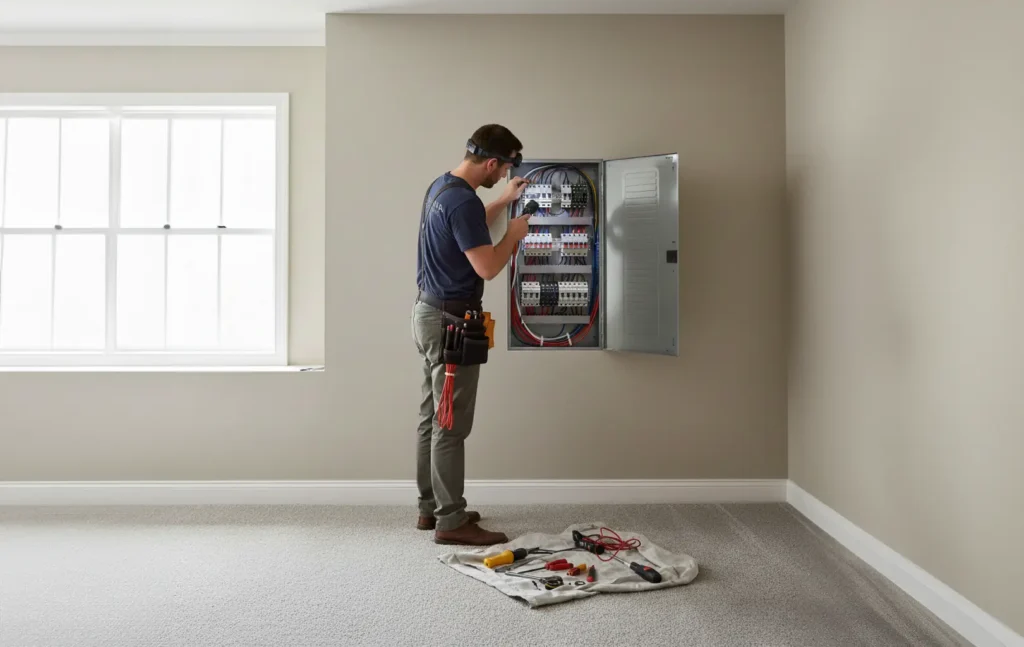
Before anyone touches your walls, an electrician needs to look at your breaker panel. This metal box—usually in your basement, garage, or utility room—is where every circuit in your home begins.
Think of your panel like a parking garage. Each circuit needs its own “parking spot” (a breaker slot). If all the spots are taken, you can’t just squeeze in another car.
What Your Electrician Looks For
When we assess a panel, we check three things. First, are there open breaker slots available? A full panel with no room for more breakers means you’ll need an upgrade before adding circuits.
Second, what’s the panel’s total capacity? Most older Ottawa homes have 100-amp service. Newer homes typically have 200 amps. If you’re adding high-draw items like an EV charger or heat pump, your existing service might not have enough juice.
Third, how old is the panel? Panels over 25 years old often have wear issues. Some brands from the 1970s and 1980s have known safety problems and should be replaced regardless of whether you’re adding circuits.
Signs You Might Need a Panel Upgrade
Frequent breaker trips, warm or buzzing panels, flickering lights under heavy load, or burning smells near the panel all suggest it's time for an assessment. A panel upgrade adds capacity and improves safety—often making it easier to add multiple new circuits at once.
ESA Permits: The Non-Negotiable Step
In Ontario, you cannot legally add new circuits without an Electrical Safety Authority (ESA) permit. This isn’t bureaucratic red tape. It’s the system that protects your home, your family, and your insurance coverage.
Here’s how it works. Before any new wiring goes into your walls, an ESA permit must be obtained. Then, after the wiring is roughed in but before it’s hidden behind drywall, an ESA inspector visits to verify everything meets the Ontario Electrical Safety Code.
Why does this matter for “hidden” electrical work? According to current Ontario guidance, inspectors need to see the wiring before it’s covered up. If you’re adding circuits to a finished space, this creates a timing consideration.
"Dozens of addresses were found with unpermitted electrical work during a review of building permits in one Ontario municipality."
— ESA PluggedIn Newsletter, Winter 2025
Unpermitted electrical work can void your insurance, create problems when selling your home, and—most importantly—put your family at risk. Licensed electrical contractors handle all permit applications and coordinate inspections as part of the job.
We’ll assess your electrical panel, check available capacity, and give you honest answers about what’s possible—no charge for the estimate.
Same-Day Quote
Five Ways Electricians Add Circuits With Minimal Wall Damage
Now for the part you really want to know. How do professionals run new wires through finished walls without turning your home into Swiss cheese?
The truth is, there’s no magic wand. But there are proven techniques that significantly reduce the amount of patching you’ll need afterward. Here are the five most common approaches, ranked from least to most visible impact.
Method 1: Use Your Basement or Attic

The cleanest approach is to avoid finished walls entirely. If your electrical panel is in the basement, cables can run along the floor joists below your main floor. They "pop up" into the wall only at the final destination—usually through a small hole behind the outlet.
This works beautifully for main-floor rooms in homes with unfinished basements. Second-floor rooms can sometimes be reached through attic access the same way.
The key is finding a clear path from panel to destination without passing through multiple finished floors or walls.
Method 2: Fish Through Interior Walls

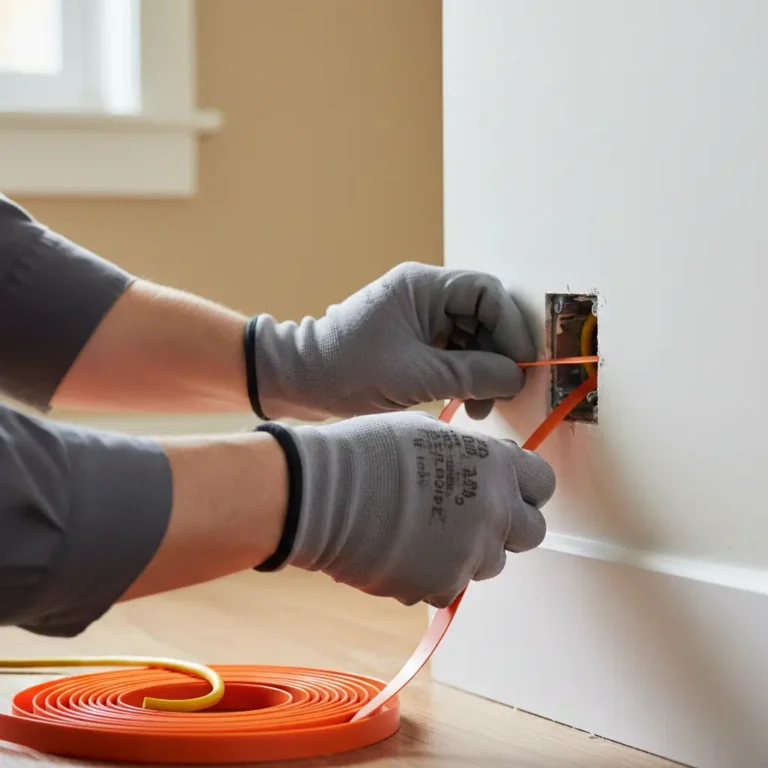
When basement routing isn't possible, electricians "fish" cables through finished walls using specialized tools. Fish tape (a flat steel or fiberglass strip) or glow rods (flexible fiberglass sticks) are pushed through wall cavities to pull cables from one point to another.
This requires skill and patience. The electrician typically needs two small access points—one near the panel and one at the outlet location—plus sometimes a third opening to navigate around obstacles like fire blocks.
According to electricians discussing this on professional forums, fishing wires invisibly is absolutely possible but takes significantly more time than working with open walls. That’s why low-damage work often costs more.
Method 3: Surface-Mount Raceways

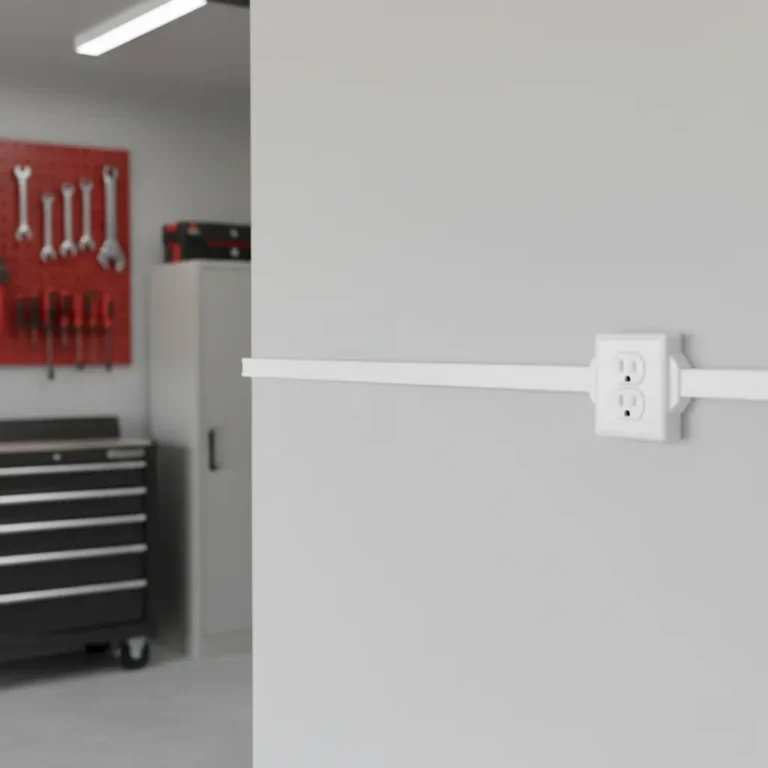
In garages, utility rooms, or basements where appearance matters less than function, surface-mounted raceways offer a fast and affordable solution. These plastic or metal channels attach to the wall surface and house the cables visibly but neatly.
Raceways are code-compliant and can actually look quite tidy when installed properly. They're especially useful on concrete or masonry walls where fishing through cavities isn't possible.
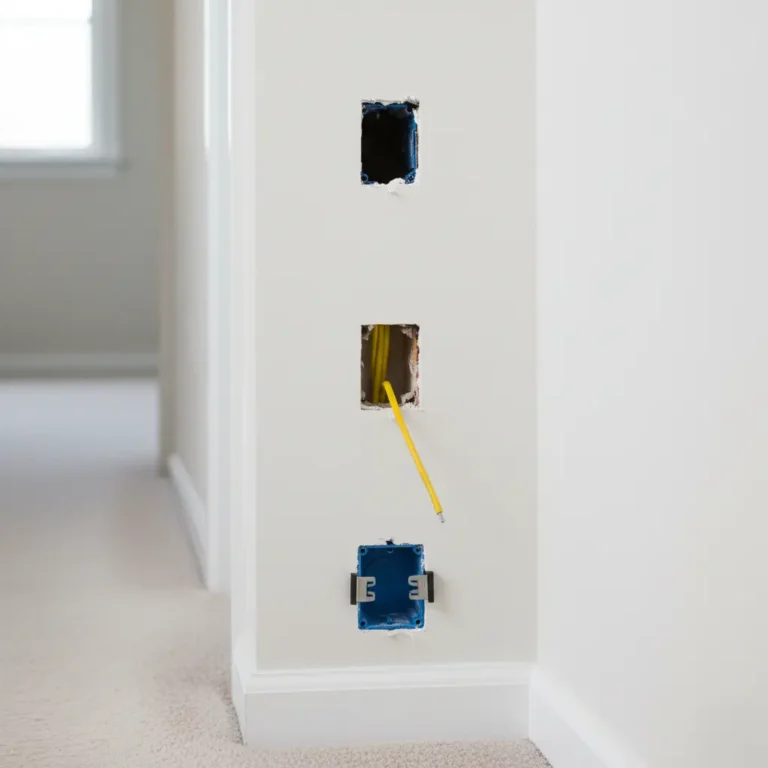
Method 4: Strategic Small Openings

Sometimes the most practical approach is a few small, carefully placed holes. A skilled electrician chooses locations that are easy to patch—like behind furniture or in closets—and keeps them to the minimum needed.
This "hybrid" approach balances cost and appearance. You'll need some drywall repair, but far less than opening up entire wall sections.
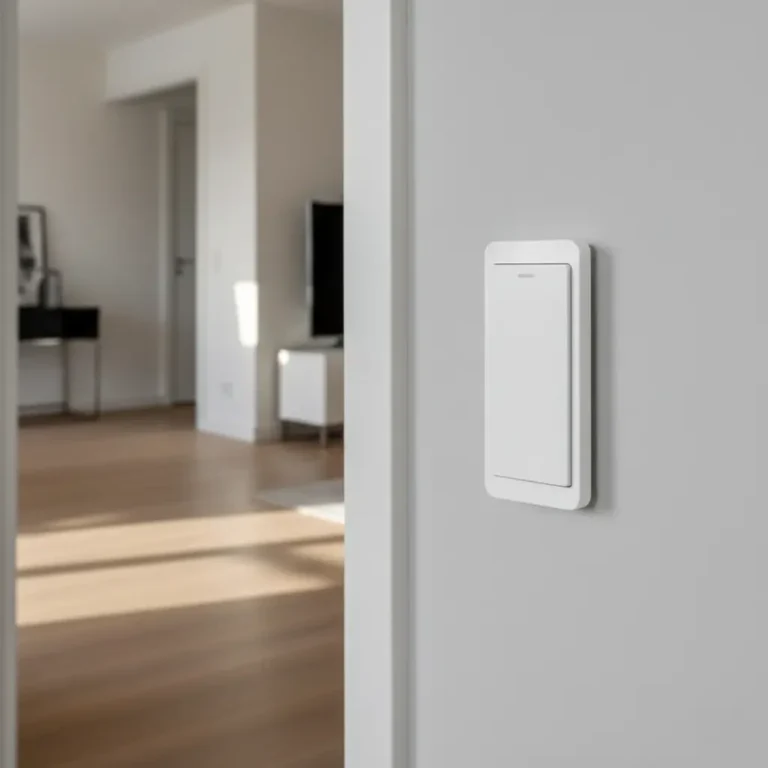
Method 5: Wireless Switches (For Control, Not Power)

Wireless switch systems let you add light control points without running new switch cables. They're battery-free and work by transmitting a signal to a receiver at the fixture.

Important clarification: wireless switches don’t eliminate the need for wired circuits. They’re useful for adding a second switch location without fishing a three-way switch cable. The actual power circuit still needs proper wiring.
| Method | Wall Damage | Best For | Relative Cost |
|---|---|---|---|
| Basement/Attic Routing | Minimal (1-2 small holes) | Main floor rooms with unfinished spaces above/below | $$ (Moderate) |
| Wire Fishing | Low (3-5 small holes typical) | Any finished space where routing isn’t possible | $$$ (Higher due to labor) |
| Surface Raceways | None (visible channels) | Garages, basements, utility areas | $ (Lower) |
| Strategic Openings | Moderate (planned cut-outs) | When speed matters more than appearance | $$ (Moderate) |
| Wireless Switches | None | Adding switch control points only (not new circuits) | $ (Product cost varies) |
What Actually Determines the Price?
The cost of adding a circuit varies widely—from around $400 for a straightforward nearby outlet to $1,500+ for complex runs or high-amperage dedicated circuits. Understanding what drives pricing helps you plan realistically.
Distance From the Panel
Every foot of cable costs money. A circuit running 10 feet from your panel costs less than one running 80 feet through multiple walls. Longer runs also mean more labor time fishing wires through obstacles.
Panel Capacity
If your panel is full or undersized, you’ll need to factor in an upgrade. Adding circuits to a panel with available slots is significantly simpler than upgrading the entire service first.
Wall Construction
Exterior walls packed with insulation are harder to fish through than hollow interior partitions. Plaster walls (common in older Ottawa homes) present more challenges than drywall. Fire blocks—horizontal boards between studs—require drilling through.
The Damage Trade-Off
Here’s a decision you’ll need to make: do you want to pay more for careful wire fishing, or accept more wall repair in exchange for faster, less expensive work?
Both approaches are valid. Some homeowners prefer the “get it done efficiently” method and just hire a drywaller afterward. Others value invisible work and are willing to pay the premium for meticulous fishing.
Get a rough estimate based on your project details. Your actual quote may vary based on site-specific factors.
Based on a straightforward single circuit installation. Your actual quote includes permits, materials, and site-specific factors.
Online calculators give rough estimates. An on-site assessment gives you real numbers based on your actual panel, walls, and routing options.
Same-Day Quote
What Ottawa Homeowners Actually Pay
Let’s put some real numbers on this. Based on typical Ottawa residential work, here’s what you can expect to budget for common circuit additions.
| Project Type | Typical Ottawa Range | What’s Included |
|---|---|---|
| Single 120V circuit (nearby) | $400 – $800 | New breaker, wiring, outlet, permit |
| Dedicated 240V appliance circuit | $600 – $1,200 | Heavy gauge wire, proper breaker, GFCI if required |
| EV charger circuit | $750 – $2,100 | 40-50A circuit, permit, inspection, charger mounting |
| Multiple basement circuits (4-6) | $2,000 – $4,500 | Outlets, lights, bathroom GFCI, permit, all wiring |
| Panel upgrade (100A to 200A) | $1,800 – $4,000 | New panel, breakers, Hydro coordination, ESA permit |
These ranges assume the work is performed by a licensed electrical contractor with ESA permits included. DIY electrical work—while technically legal for Ontario homeowners on their own property—carries significant risks and still requires permits and inspections.
Pro Tip: Bundle Projects to Save
If you know you'll need multiple circuits in the next few years, doing them all at once often costs less than separate visits. We're already at your home with the panel open—adding a second or third circuit while we're there is more efficient for everyone.
The Process: What to Expect From Start to Finish
Knowing what happens at each stage helps you plan and reduces surprises. Here’s the typical flow for adding circuits to a finished Ottawa home.
Contact & Quote
On-Site Assessment
ESA
Permit
Installation
Inspection & Sign-Off
The entire process typically takes 1-3 weeks from first contact to completed inspection. The actual installation work is usually finished in a single day for straightforward projects.
During the assessment, we’ll identify the best routing path, check your panel capacity, and discuss any trade-offs between cost and wall impact. You’ll know exactly what to expect before any work begins.
The Bottom Line
Adding circuits to a finished home doesn’t have to mean demolishing your walls. With the right electrician and proper planning, new wiring can be routed through your home with minimal visible impact.
The keys are: checking your panel capacity first, obtaining proper ESA permits, choosing the right method for your specific situation, and working with someone who takes the time to do it cleanly.
Whether you need a single outlet for your home office or a complete basement rough-in, the technology and techniques exist to get power where you need it. Request your free estimate and we’ll show you exactly what’s possible for your home.
FAQs
Can you add a circuit with absolutely no wall damage?
Sometimes, yes—if there’s a clear path through unfinished spaces like a basement ceiling or attic. In most cases, a few small holes are needed but can be kept to a minimum with skilled fishing techniques.
Is it cheaper if I let you cut more drywall?
Usually, yes. Less labor time spent fishing means lower costs. Some homeowners prefer to have a drywaller handle repairs afterward rather than pay the premium for invisible wire runs. Both approaches work—it depends on your priorities.
How long does a typical circuit addition take?
Most single-circuit projects are completed in 2-4 hours. More complex runs through multiple walls or floors might take a full day. Panel upgrades typically require 4-8 hours.
Do I need to be home during the work?
We need access to your electrical panel and the areas where outlets are being installed. Most homeowners prefer to be present, but arrangements can be made if necessary.
What if my panel is full?
Options include tandem breakers (where code allows), a subpanel, or a full panel upgrade. If you’re planning to add several circuits or high-demand equipment like an EV charger, upgrading to a 200A panel often makes the most sense long-term.
Share on Social Media:
Hey! I’m Matt Fortin, Founder & Master Electrician of Ottawa Electric. I have 20+ years of electrical industry experience across residential, commercial, and heavy industrial work. I lead our team with a focus on safety, quality workmanship, and clear communication.
Table of Contents
Ready to Add Circuits Without the Mess?
Our team specializes in low-impact electrical work for finished Ottawa homes. We’ll find the cleanest path for your project and give you honest options.
Same-Day Quote
